First of all, I have ZERO experience making knife blades. With all the knife posts flying around this place I had to jump in and get my feet wet.
So.. I tried a couple (exactly two) out of saw blades and they turned out pretty good right up until I tried to grind the edge profile freehand. It was a nightmare and didn’t work out so well. I have A LOT of respect for those that can grind a blade freehand. Maybe one day I can..
Anyway, I decided I needed a “cheater” to help me profile the edge and make it look halfway decent.
I cannot take credit for this jig. After some searching around on the internet I found some pics of a homemade jig on a British Knife Making Website. I copied his design and made my own with some stuff I had laying around the shop.
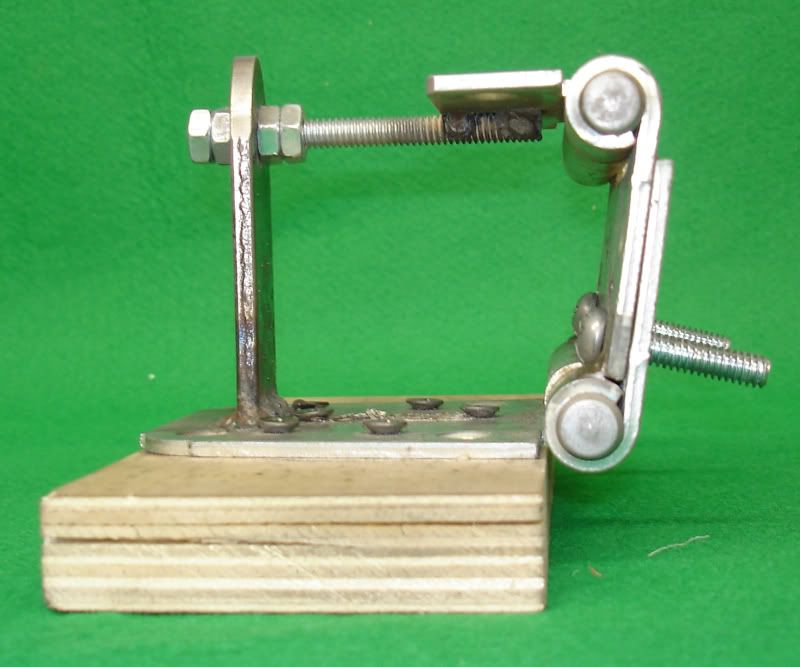
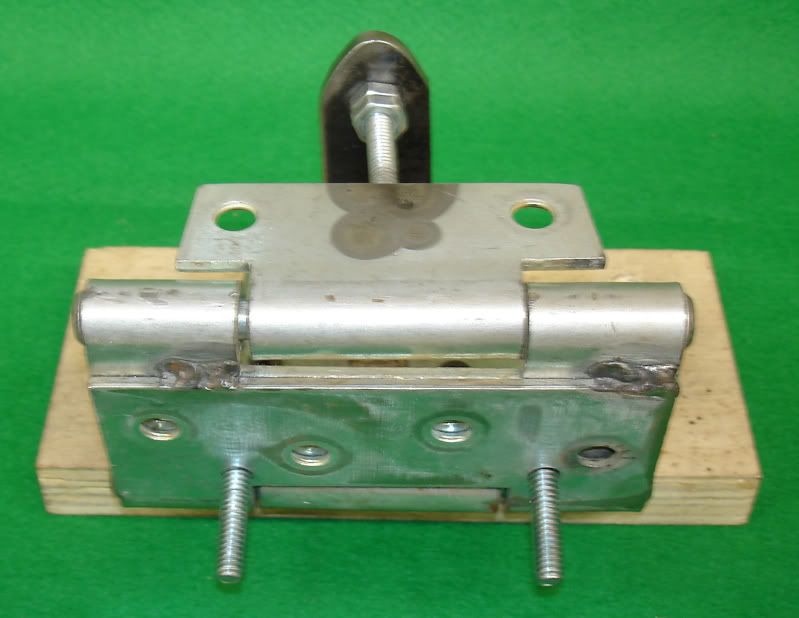
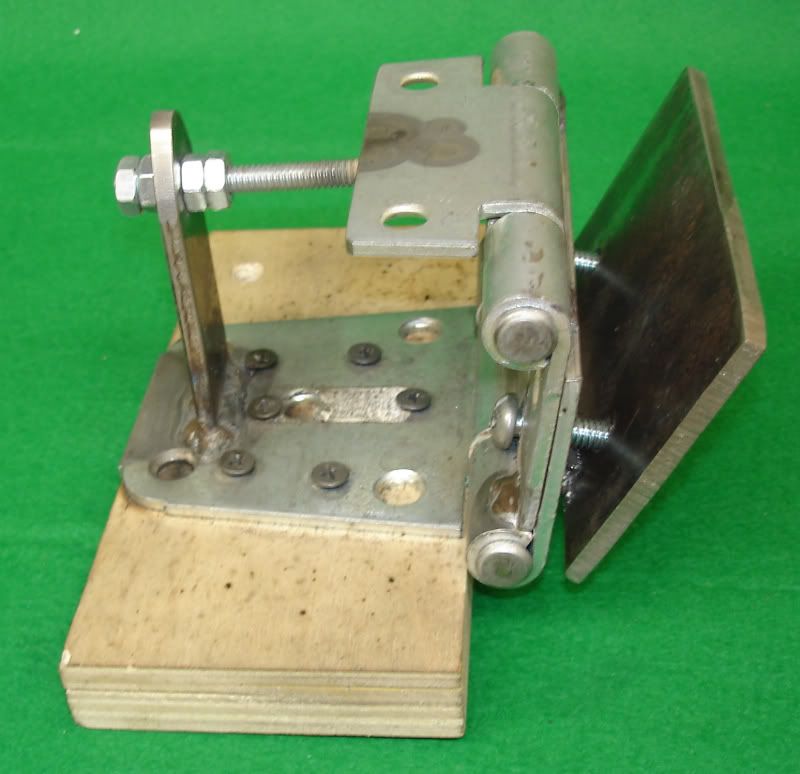
You need a couple of hinges, a base, a couple of bolts and a “pinch plate.” If you looks closely you will see that it the jig is angle adjustable so you can set the bevel where you want it. Now that I’ve used the jig a few times I have some ideas for improvement but that will have to wait until later.
My “grinder” is a 1” belt sander that is more for wood than steel. It works for grinding blades but not very well. Since that is all I have, that is what I used. The jig does wonders considering how ugly it is and how crappy my “grinder” is. The three blades below are the first and only blades I have ever ground. (except the two above mentioned saw blades I ruined.)
Here is the jig without the “pinch plate.”
![Image]()
![Image]()
With the pinch plate
![Image]()
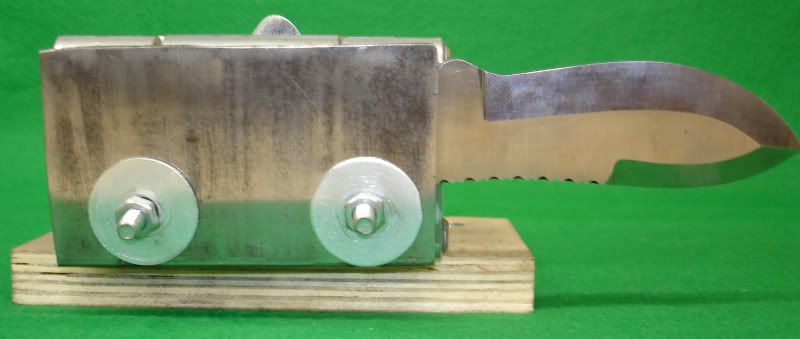
With blade mounted
![Image]()
.
So.. I tried a couple (exactly two) out of saw blades and they turned out pretty good right up until I tried to grind the edge profile freehand. It was a nightmare and didn’t work out so well. I have A LOT of respect for those that can grind a blade freehand. Maybe one day I can..
Anyway, I decided I needed a “cheater” to help me profile the edge and make it look halfway decent.
I cannot take credit for this jig. After some searching around on the internet I found some pics of a homemade jig on a British Knife Making Website. I copied his design and made my own with some stuff I had laying around the shop.
You need a couple of hinges, a base, a couple of bolts and a “pinch plate.” If you looks closely you will see that it the jig is angle adjustable so you can set the bevel where you want it. Now that I’ve used the jig a few times I have some ideas for improvement but that will have to wait until later.
My “grinder” is a 1” belt sander that is more for wood than steel. It works for grinding blades but not very well. Since that is all I have, that is what I used. The jig does wonders considering how ugly it is and how crappy my “grinder” is. The three blades below are the first and only blades I have ever ground. (except the two above mentioned saw blades I ruined.)
Here is the jig without the “pinch plate.”


With the pinch plate

With blade mounted

.


