Archery Talk Forum banner
21 - 40 of 40 Posts
Use gapping at the bow a lot, works great. Typically with my anchor at 20 yards about 1” gap so imagine a quarter sitting on the tip of your arrow then hold top of quarter on desired impact. 1/4” per 5 yards is what I see as well except for some super fast bows might be 3/16”. Easy to figure if you know your point on and say 10 yard gap. Also work great for hold over for long shot. For example at ETAR they had the Sasquatch novelty target set long range. After checking with range finder found it was 115 yards. my frankenbow has point on of 40 yards. Needed to make up for extra 75 yards, 75 divided by 5 yard increments is 15, 15 times 1/4” =3 3/4”. Come to full draw point on target visualized 3 3/4” higher over arrow (a spot in the trees) then moved tip to that spot and shot. I took only six shots made 3 hits starting with second shot. Involves a little math but practice on a 3-D range a you can pick it up pretty quick.
 
Be creative Rob5589. Take a matching stick, hold the bow canted and tape the matching stick parallel with the ground on the back side of the riser. You will solve the “different cant” issue from shot to shot since you can see if the matching stick is horizontal too.
 
Easy. Gary McCain posted in one of the sticky’s a great pictorial. My system is very similar. Find your point on. Mine for field is 40. At 35 yards I put a 1/4” gap at my arrow tip between bottom of X and tip. Approximately every 5 yards with my FPS is a 1/4”. So 30 yards would be 1/2”, 25 is 3/4. Now arrow drop is not completely linear in my opinion. Going out past 40, 45 I cover the X, 50 is 1/4 above, beyond 50 I start using parts of my riser. Plunger tip is 55, etc. my shelf is 70. There is always something on the riser to use to aim with.
Remember the good old days on AT, maybe 10 years or so ago, where a poster named OSB intensely argued that this was impossible to do? I briefly tried it, but couldn't get the hang of it. However, I have no reason to doubt you and Gary.
 
Remember the good old days on AT, maybe 10 years or so ago, where a poster named OSB intensely argued that this was impossible to do? I briefly tried it, but couldn't get the hang of it. However, I have no reason to doubt you and Gary.
It took some time for me to “see it”. For really short shots like birdies I use pick a point. I just practice where to aim and it was easier. Past 50 I use things on my riser out to my shelf.
 
Discussion starter · #33 ·
I use the point on distance, 0 gap and 20 yard distance, Say 1/2 inch gap and find the linear equation for that line. Plugging in distances and solve for the gap. That gives a very good approximation, close enough to keep arrows in the center Assuming constant arrow velocity agreed an approximation but not to far off for 3" fletch up to 40 yards a simple way for say a 1/2" at 20 and 0 at 40 would give 1/4" at 30 or 1/4" decrease in gap for every 5 yard increase from 20 to 40. 20 1/2", 25 3/8" 30 1/4" 35 1/8" 40 0". At distances over 40 yards you might want to try something like a spin wing vane to help maintain initial velocity. What the heck are you shooting to get a 60 yard point on?
Thanks! I wasn't really trying for a 60Y point on. It just worked out that way with my arrow setup and my anchor point on my field bow. I have tried different anchor points, but my shot is strongest with my current anchor.
 
Discussion starter · #34 ·
Could not resist Gap estimates for theoretical 2" at 20 and 0" at 60.
Notice the nice numbers. I have and will change my set up if I have to work with 1/3" increments.
For20,2 and 60,0
y= -1/20 +3
20​
2​
25​
1.75​
30​
1.5​
35​
1.25​
40​
1​
45​
0.75​
50​
0.5​
55​
0.25​
60​
0​
That's impressive! Thanks for the breakdown.
 
I have a piece of heavy veg tan leather died the same color as my bow and shaped to fit the front of the riser on my hunting bow. I take some of my wife's sewing pins with the plastic balls on the end. And stick in the side of the veg tan. Easily removed and they even come in different colors.

The veg tan thick leather piece can even be removed as well and reapplied with rubber cement.

My other bows I just frame the target in the riser much like Viper1's picture he posted.
After awhile your mind will learn the sight picture.
 
Discussion starter · #36 ·
Thanks everyone. I have tried using the pencil marks on the belly of the riser. I first saw that tip from Jimmy Blackmon. It worked okay for 3D's. I don't keep score at 3D tournaments and I don't turn my card in at the clubhouse, so the rules prohibiting it really don't apply to me. In the end, I just didn't care for that method.
 
That's impressive! Thanks for the breakdown.
Long those are just theoretical (but probably not to far off) numbers I used to illustrate an example. You'll want to use your own numbers. There's a number of 2 point linear equation tools on the web, I used one to calculate the line for the example. There's nothing difficult about finding the line with pencil and paper though. Point is (no pun intended) the linear approximation works reasonably well when the arrow velocity does not change dramatically over the expected usage range. Your primary vision focus is the same (target center) and the gaps are there for the taking in your secondary vision. It takes quiet a bit of practice especially at longer distances and changes in, draw weight, arrow weight, arrow length..... probably will require a new point on and whatever second point distance you use. ( I use 20 yards.) The interesting thing is after enough practice at some distance again I use 2o yards the gap picture is so automatic you'll think you are shooting instinctive. If you need I'd be happy to do the calculations for your set-up. PM me. Merry Christmas and Happy New Year.
 
Discussion starter · #38 ·
Long those are just theoretical (but probably not to far off) numbers I used to illustrate an example. You'll want to use your own numbers. There's a number of 2 point linear equation tools on the web, I used one to calculate the line for the example. There's nothing difficult about finding the line with pencil and paper though. Point is (no pun intended) the linear approximation works reasonably well when the arrow velocity does not change dramatically over the expected usage range. Your primary vision focus is the same (target center) and the gaps are there for the taking in your secondary vision. It takes quiet a bit of practice especially at longer distances and changes in, draw weight, arrow weight, arrow length..... probably will require a new point on and whatever second point distance you use. ( I use 20 yards.) The interesting thing is after enough practice at some distance again I use 2o yards the gap picture is so automatic you'll think you are shooting instinctive. If you need I'd be happy to do the calculations for your set-up. PM me. Merry Christmas and Happy New Year.
Thanks again. This looks like a fun winter project for me. Merry Christmas!
 
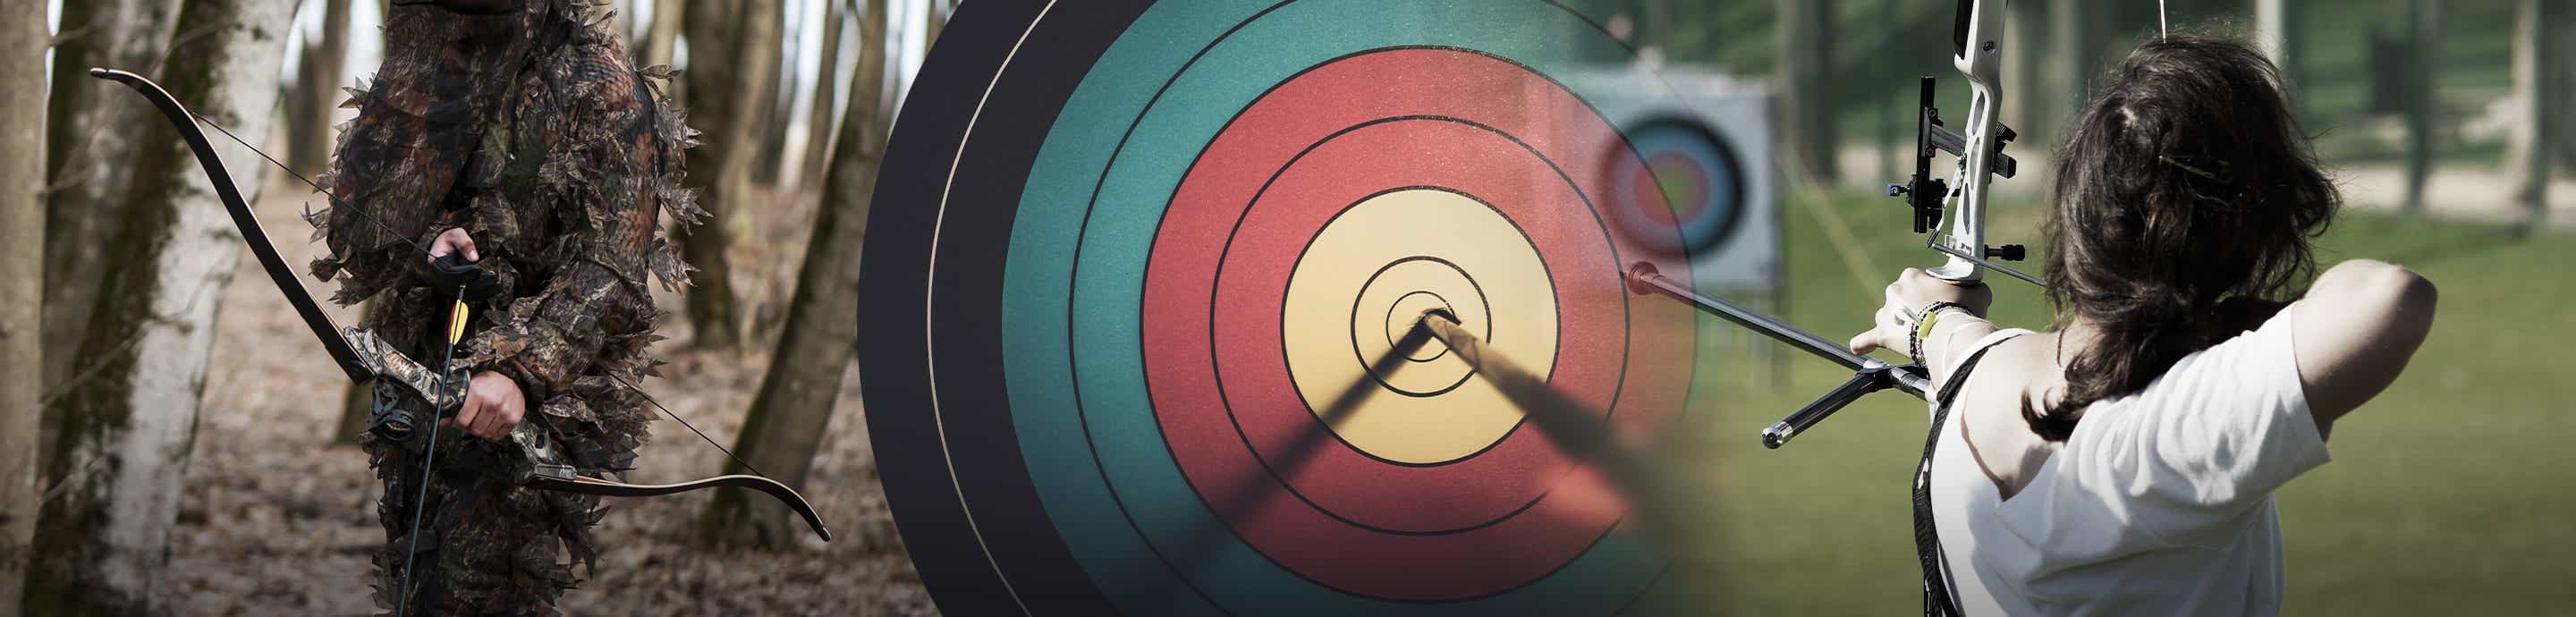
When I gap shoot, I use the target to set my gap. So as an example I have a 24" gap at 20y. I find a point on the target 24" low and execute my shot. I have heard about gapping at the bow, allowing the archer to set a fraction of an inch, measured at the bow, to accomplish the same gap. I have tried this a little, but it seems unnatural for me. One technique I have heard of is to use the width of arrow as a unit of measurement, stacking up to three arrows widths below the target to set gaps.

For those of you who gap at the bow, what techniques are you employing?
The method I use is called "string walking". It such an accurate way of shooting that the NFAA made a ruling that if the top finger doesn't make contact with the under side of the arrow they put you in the limited sighted division.
To shoot this way, first you have to shoot with all 3 fingers under the arrow (also called the Apache draw). (Shooting with split fingers is called Mediterranean) Next you need to come to full draw at your regular anchor point. At 20-30yds hold the tip of your arrow on the spot you want to hit and shoot. Shoot this way and vary the distance to the target until you find the distance that lets you hit your spot by holding "point on".
Now, to hit your spot if the distance is closer you will hold the bow string with the top of your top finger about 1/4" allow the arrow. Draw your bow to your preferred anchor point and release.
Because you kept your anchor point at the same place but raised the arrow nock up above your finger you will hit lower on the target similar to changing the rear sight of a rifle. By experimenting at different distances and adjusting the amount of "gap" between your finger and the bottom of the arrow you can figure out how much gap is needed at any estimated distance. Bone up on your distance judging. This is essential for accurate shooting.
Note: your "point on" distance will vary from person to person depending on where their anchor is located.
This system works well for distances from "point on" down to 5-10yds. Farther than "point on" is achieved by varying the arrow tip gap above your desired point of impact.
Practice practice practice!
If shooting 3 under seems weird you'll get used to it quickly. Two benefits of shooting 3 under is you don't tend to drag the arrow off the shelf when you draw the string because of no string pinch, and believe it or not but drawing the bow back seems easier with your 3 fingers being together.
With the arrow nock being closer to your eye it kinda like bore sighting down the barrel of a gun.
Long winded but I hope this helps!
Good luck!
 
It's not really all that difficult. It helps a lot if you are already comfortable with what 1/4" looks like.
Some tie a couple of raps on the serving at any fraction you want. I like the Wilson tab for string walking. The tab fingers are sew to the palm patch. By touching the tab to the arrow you count down however many stitches you need and put your thumb nail on that stitch. Then keeping your nail on the stitch slide the tab down the serving until the top of the tab is at your thumb nail. Draw and shoot! You will need to determine how many stitches you need to drop for any given distances.
The Wilson Tab even comes built for 3 under shooting.
This a lot to soak up but once you figure things out it's quick and very accurate. Developed for typical traditional distances.
Hope this helps.
Good luck!
 
21 - 40 of 40 Posts