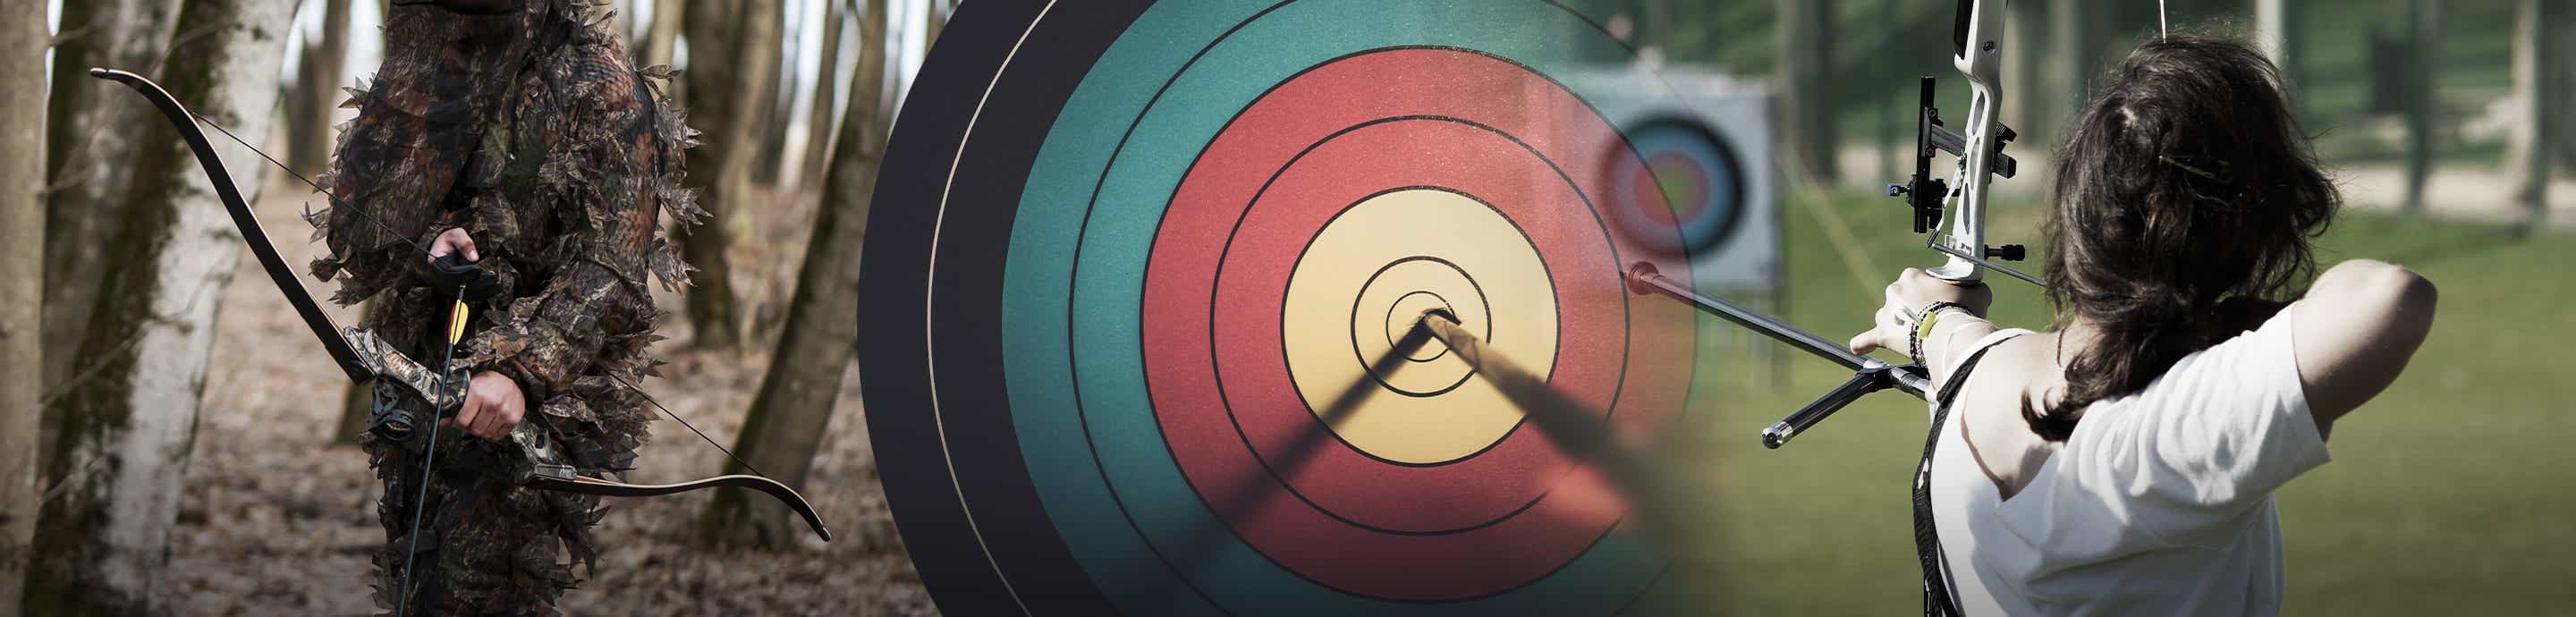

About a year ago I set out to build an archery simulator. My goals were to be as low cost as possible and able to DIY, but still support impact detection and scoring as you would have in a commercial system. Here are a few shots of the end result:


Most of the rig is built with ¾” EMT conduit and these handy connectors from Makerpipe.
The backstop/screen is a heavy duty vinyl tarp suspended in a conduit frame with ball bungees.

The heart of the rig is a 98 inch infrared sensor that you might use to add touch capability to a TV. I used this one from eBay.
The sensor is mounted in a wooden frame and suspended in front of the backstop about a foot. The sensor isn’t designed for such high speeds, but suspending it this far in front gives it more time to sense an arrow passing through as it hits the screen.


For a blunt tip to use to shoot the backstop without passing through, I was able to modify a Saunders small game blunt, simply dremeling off the little points. The weight of the blunt was actually closer to my preferred 100 grains when I finished removing material than it was out of the box, at least according to my scale.


I’m somewhat of a software developer in my day job so over the course of the year I’ve been writing the software as well. The software so far has some static target faces, a set of big game photos, a set of big game videos, tic tac toe, and archery poker. It also has a built-in calibration sequence that tells the software how the projected image is aligned inside the sensor frame.


All in all, the cost came in around $1600 including a projector and popup tent to shade the screen (better visibility when outside). If you already have either of these, it will be less.
If anyone else is interested in building one, the software and more detailed build instructions are available on my website
Most of the rig is built with ¾” EMT conduit and these handy connectors from Makerpipe.
The backstop/screen is a heavy duty vinyl tarp suspended in a conduit frame with ball bungees.
The heart of the rig is a 98 inch infrared sensor that you might use to add touch capability to a TV. I used this one from eBay.
The sensor is mounted in a wooden frame and suspended in front of the backstop about a foot. The sensor isn’t designed for such high speeds, but suspending it this far in front gives it more time to sense an arrow passing through as it hits the screen.
For a blunt tip to use to shoot the backstop without passing through, I was able to modify a Saunders small game blunt, simply dremeling off the little points. The weight of the blunt was actually closer to my preferred 100 grains when I finished removing material than it was out of the box, at least according to my scale.
I’m somewhat of a software developer in my day job so over the course of the year I’ve been writing the software as well. The software so far has some static target faces, a set of big game photos, a set of big game videos, tic tac toe, and archery poker. It also has a built-in calibration sequence that tells the software how the projected image is aligned inside the sensor frame.
All in all, the cost came in around $1600 including a projector and popup tent to shade the screen (better visibility when outside). If you already have either of these, it will be less.
If anyone else is interested in building one, the software and more detailed build instructions are available on my website
")


